Setup
To use our unified API, you wil have to do a little bit more work before you can get started. This guide will go through all the steps you must do for it to work.
Note: We have a guide on how to get the OAuth credentials for every vendors under the Oauth section
Setting up the OAuth providers

We save and secure your OAuth credentials
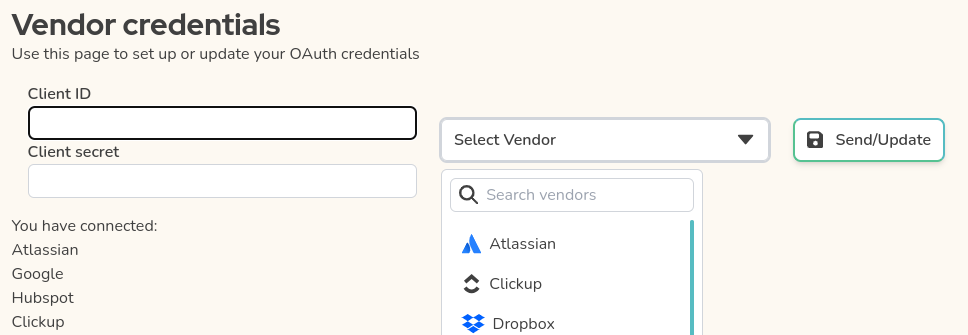
- Go to Vendors in the side bar or Settings > OAuth credentials.
- Get your credential from the API you are integrating with.
- Select any of the supported providers, and click "send".
If you want to update an existing provider, simply repeat the step, it will overwrite the configuration

Setting up the OAuth portal
The Oauth portal will secure the OAuth flow for you, and send a webhook once the user has authorized your app.
The portal settings

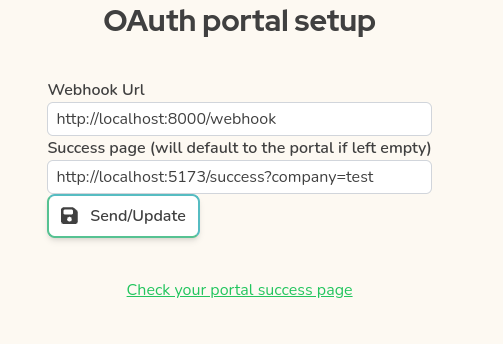
- Go to settings > OAuth Portal
- Enter the webhook url (where our servers will send data when a user completed the flow)
- Enter a success page url.
- If you have your own, this is here you can set it up, users will be redirected here once the webhook is successful
- Leave empty if you want to use our page (useful if you do not have a frontend). You can customise the "company" parameter, it is by default your workspace name (example:
https://portal.astarlogic.com/success?company=yournamehere)
- Click send, and you will receive your webhook authentication code. Just like the api token, keep this securely, as this is a way to ensure the webhook was called by our servers and no one else.
Each edit will generate a new webhook token
The OAuth provider settings

If the provider respect the OAuth standard, they should also ask you to provide a redirect url. When using the portal, the url will always be the same: https://portal.astarlogic.com/callback/[Vendor] with vendor with a Capital letter.
examples:
https://portal.astarlogic.com/callback/Hubspothttps://portal.astarlogic.com/callback/Clickup
